![]()
|
|
|
|
|
|
|
|
|
|
|
|

|
![]()
|
|
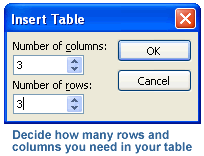
2. In the Insert Table dialog box, choose the number of rows and columns you want for your table.
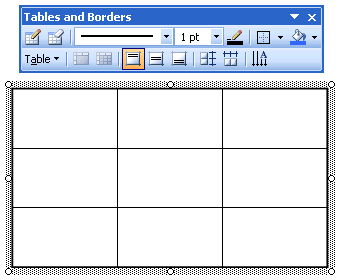
The work window is where you enter and edit information, and where you format the table. Next, you will type information into the work table.
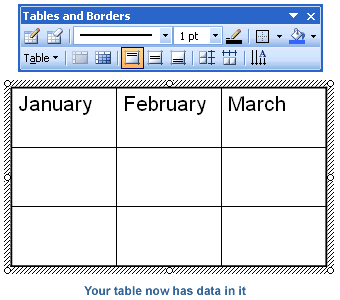
2. Type the word January. 3. Press the TAB key on your keyboard. The insertion point is now in the second column of the first row. 4. Type the word February. 5. Press the TAB key to move to the next column, and type the word March. Navigation Tips: To move to a previous column in a row, press SHIFT + TAB. You can also move around the table by simply clicking where you want to move to, or by using the arrow keys on your keyboard. After you've finished typing, click outside the work table to exit the work window.
|
|
|
|
|
|
|
|
|
|

In PowerPoint you can adjust the height and width of the cells. The following steps will show you how to adjust the height and width of cells in your table.
2. First, try making the cells in the first column narrower. (a) Place the pointer on the gridline between the first and second column. The pointer will change into a two-headed arrow.

(c) Click and drag the gridline to the right to make the cells wider again.
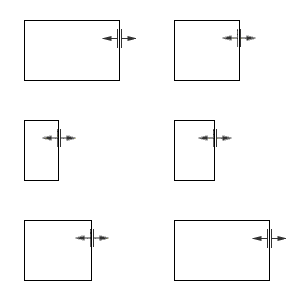

(a) Place the pointer on the gridline between the first and second rows. The pointer will change into a two-headed arrow. (b) Click and drag the gridline downwards. The cells become taller. (c) Click and drag the gridline upwards to make the cells shorter again. |
|
|
|

|
|
|
|
![]()
|
|
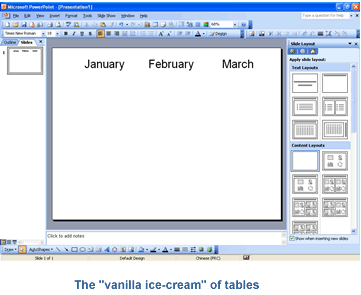
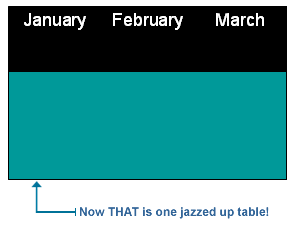
Try jazzing up your table as follows.
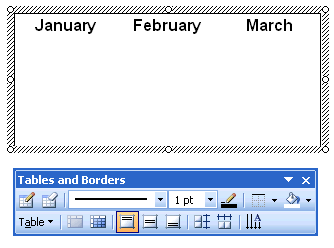
If you want to make changes to your table later on and this toolbar is checked, you only need to click anywhere within the table to make the Tables and Borders toolbar reappear.
2. Other formatting features of a table are changed by using the Format Table dialog box. Click the Format menu, then select Table.
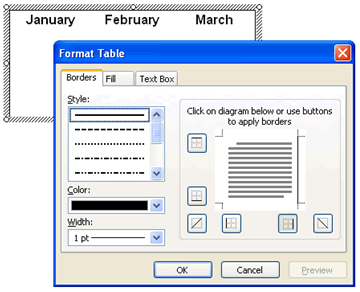
4. Click OK.
|
![]()
|
|

|