|
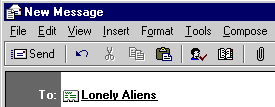
If you've been paying attention, you already know how to send a message to several people using the carbon copy function. Outlook Express makes it even easier to send a message to a bunch of people by letting you create a contact group.
You may, for instance, want to create a contact group that includes the e-mail addresses of everyone in your local Save the Trees club. When it comes time to send membership renewals or newsletters, don't bother typing a long list of e-mail addresses. Simply enter the name of the contact group and Outlook Express will handle the rest.
You can create your own contact group by:
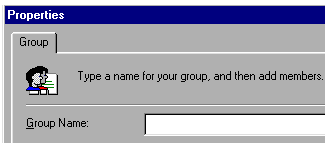
2. In the Group Name box, type a name for the group. Then, click the Select Members button. The Select Members dialog box will open.
|
|
|
|
|
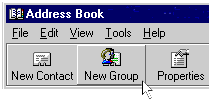
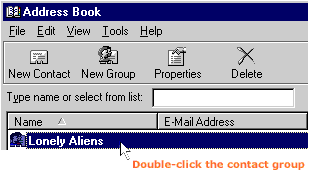
1. Open the Address Book.
2. In the Address Book list, double-click the contact group you want to add names to.
The Group Properties dialog box will open.
|
|
|
|
|
|
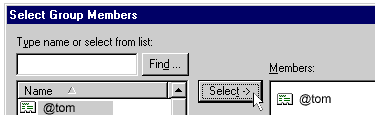
5. Click OK to close the Select Members dialog box, then click OK to close the Group Properties dialog box. The contact is now added to the group.
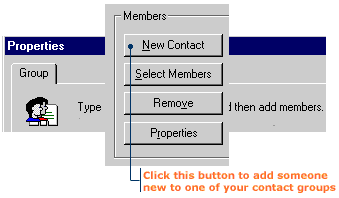
1. In the Address Book list, double-click the contact group you want to add a name to. 2. In the Group Properties dialog box, click the New Contact button. The Properties dialog box will open.
|
|
|
4. Click OK to close the Group Properties dialog box.
To delete names from a contact group:
2. In the contact list, click the name you want to remove, then click the Remove button. The name is removed from the contact group.
|
